Choose photographs with a clear reason
Put possible photographs together on a table and choose a manageable group. Mix close views and wider scenes if that reflects what you like, but remove near-duplicates that compete for attention. You do not need every year or every family member represented equally on one wall. If photographs belong to other people, ask before displaying them in a public-facing area. The selection should feel meaningful when you look at it daily, not merely fill the available number of frames.
Make full-size paper templates
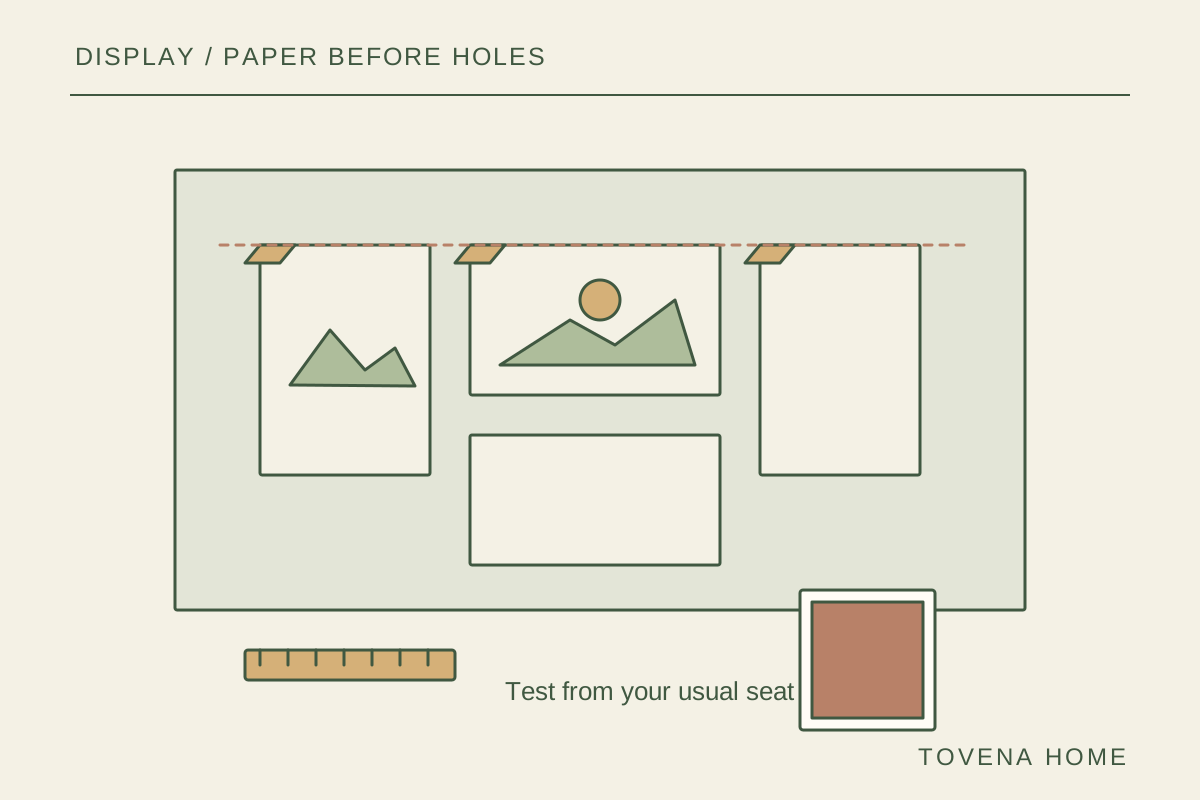
Measure the outside of each frame and cut paper to that size, marking which photograph it represents. Arrange the templates on the floor before testing them on the wall with a method suitable for the finish. Keep one spacing principle consistent, such as a repeated gap or a shared lower line. View the group from the doorway and from the nearby seat. A composition can look balanced close up but appear too high or scattered from where you actually spend time.
Install for the frame and wall
Use fixings appropriate to the wall construction, frame weight and product instructions. Check for relevant services before drilling and get suitable help if you cannot assess the wall. Do not rely on an adhesive simply because it held a lighter item before. Keep the arrangement away from spots where opening doors or moving furniture will strike it. Save a photograph of the layout and keep the spare prints together, so changing one image later does not turn into a complete reorganization project.