
Identify the vacuum before sorting its tools
Find the model name and the manufacturer’s current support page or manual. A household with an older upright and a cordless vacuum may have several similar-looking attachments that do not fit the same machine. Lay the tools out, identify which vacuum each belongs to, and keep unconfirmed pieces separate until you can check compatibility.
Save the manual where you can reach it again. A bookmark or a short note containing the model number and support address can be enough. Record replacement filter or bag identifiers only after checking the exact model information. Shopping by a photograph of a filter can lead to a part that looks plausible but does not belong in your machine.
Match tool placement to actual cleaning jobs
Put the attachment you use for sofa edges or narrow gaps beside the vacuum rather than in an unrelated kitchen drawer. Store occasional tools farther back if necessary, but keep them identifiable. A shallow existing bin with separate spaces can work better than a deep bag where bristles, adapters, and extension pieces become tangled together.
If the vacuum includes onboard storage or a manufacturer-approved attachment holder, start there and follow its instructions. Do not assume a generic wall bracket can carry every machine or power head. Before adding a holder, check the dimensions, compatible components, mounting requirements, and the permission needed for the surface you intend to use.
Leave room for the maintenance movements
Try removing the dust container, opening the bag compartment, and accessing the filters as the manual describes. Storage that presses the machine tightly between shelves may prevent these ordinary tasks. Change the arrangement so you can bring the vacuum out and set it down appropriately, rather than reaching through a tangle of accessories to undo a compartment.
Keep replacement parts in a clean, dry location distinct from used tools and loose debris. Label their packaging with the machine they fit. If there is more than one vacuum, separate the supplies physically enough that another person can choose correctly. Original packaging often carries useful identification, so avoid throwing it away just to make a matching row of unmarked containers.
Do not treat every filter as washable
Use the manufacturer’s instructions for the exact filter and machine. Dyson’s cordless filter-care page provides model choices and washing guidance, including complete drying before refitting. Miele’s bagged-vacuum support instead describes replacement schedules for several filter types. Those examples show why one online cleaning tip cannot be applied to every vacuum filter.
Write down the maintenance action your own manual specifies: wash, clean by another approved method, or replace. Include the stated timing or indicator to watch, rather than substituting a universal monthly rule. If the instructions are unclear or the filter differs from the diagram, ask the manufacturer before using water, detergent, a brush, or another cleaning method.
Provide a temporary maintenance place when needed
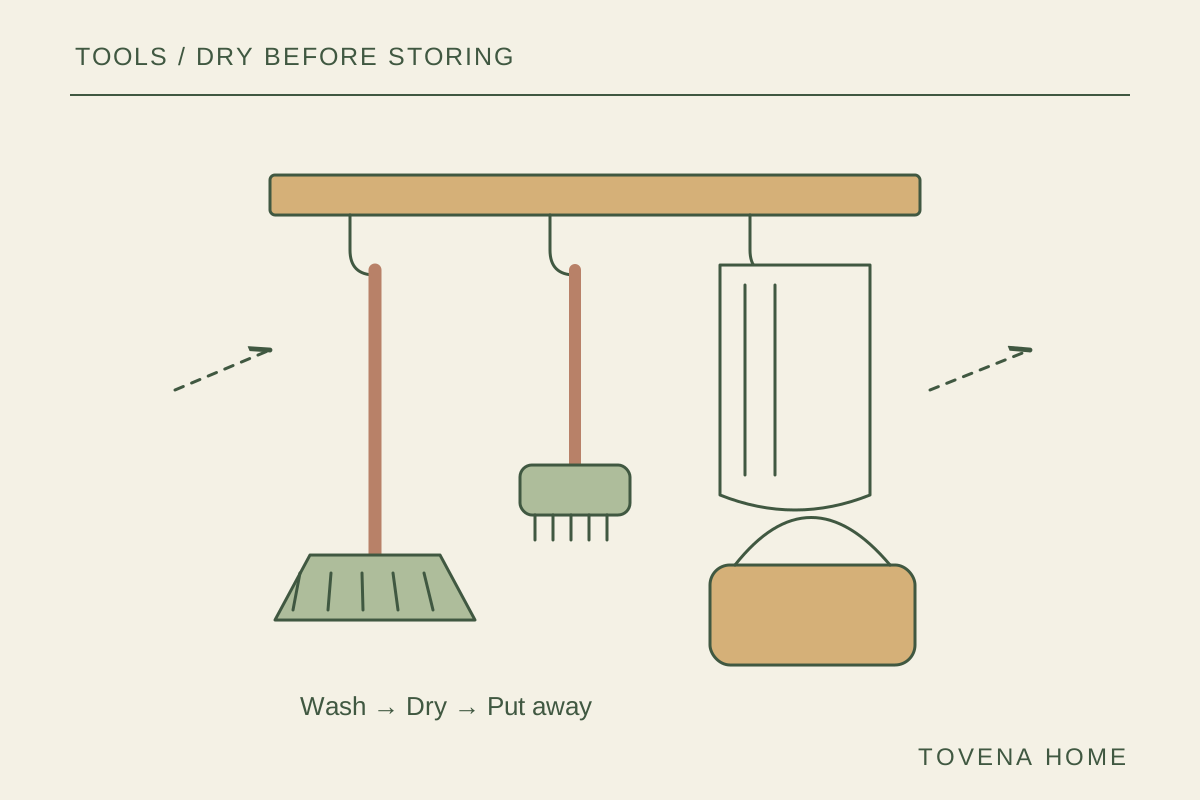
If your model has a washable filter, choose a drying location that meets its instructions and where the part will not be knocked into a sink or mistaken for a ready-to-use spare. Keep a visible reminder that the vacuum is awaiting its filter. Do not run it without required parts just because the normal storage spot looks complete.
For replaceable filters or bags, keep the next compatible part accessible without blocking ventilation openings or normal operation. Follow the maker’s handling and disposal directions. A reminder on your household calendar can help, but the manufacturer’s condition checks and machine indicators still matter; a neatly labeled shelf does not tell you that a filter is ready for use.
Check the whole setup after a cleaning session
Return the vacuum and the attachment you just used. Notice whether the cord, hose, or charger has to cross a walking route, whether a tool falls out, and whether the door closes without pressure on the machine. Follow manufacturer guidance for charging and storage conditions rather than inventing a hidden charging cabinet because it looks tidier.
Change the smallest detail that caused trouble. Move the crevice tool to the front, label the adapter, or give the hose a less cramped position. Review unused accessories before discarding anything, because an occasional tool may have a purpose described in the manual. The finished arrangement should make both ordinary cleaning and the correct maintenance step easier to begin.
Compare the options
| Option | Useful when | Watch for |
|---|---|---|
| Onboard tool storage | The manufacturer provides it | Use the designated attachment positions |
| Labeled shallow bin | Several loose tools need grouping | Separate incompatible adapters |
| Approved wall holder | The model and wall are suitable | Check mounting, clearance, and charging instructions |
Your checklist
0 / 5 completed
Common questions
Can every vacuum filter be rinsed?
No. Follow the exact model and filter instructions; some filters are replaced rather than washed.
Can I store a wet filter beside spare parts?
Keep parts that are drying distinct from clean ready-to-use replacements, following the manual.
Do I need a dedicated vacuum cabinet?
No. An accessible existing location may work if it supports the required storage and maintenance movements.