Match complete bottles before arranging them
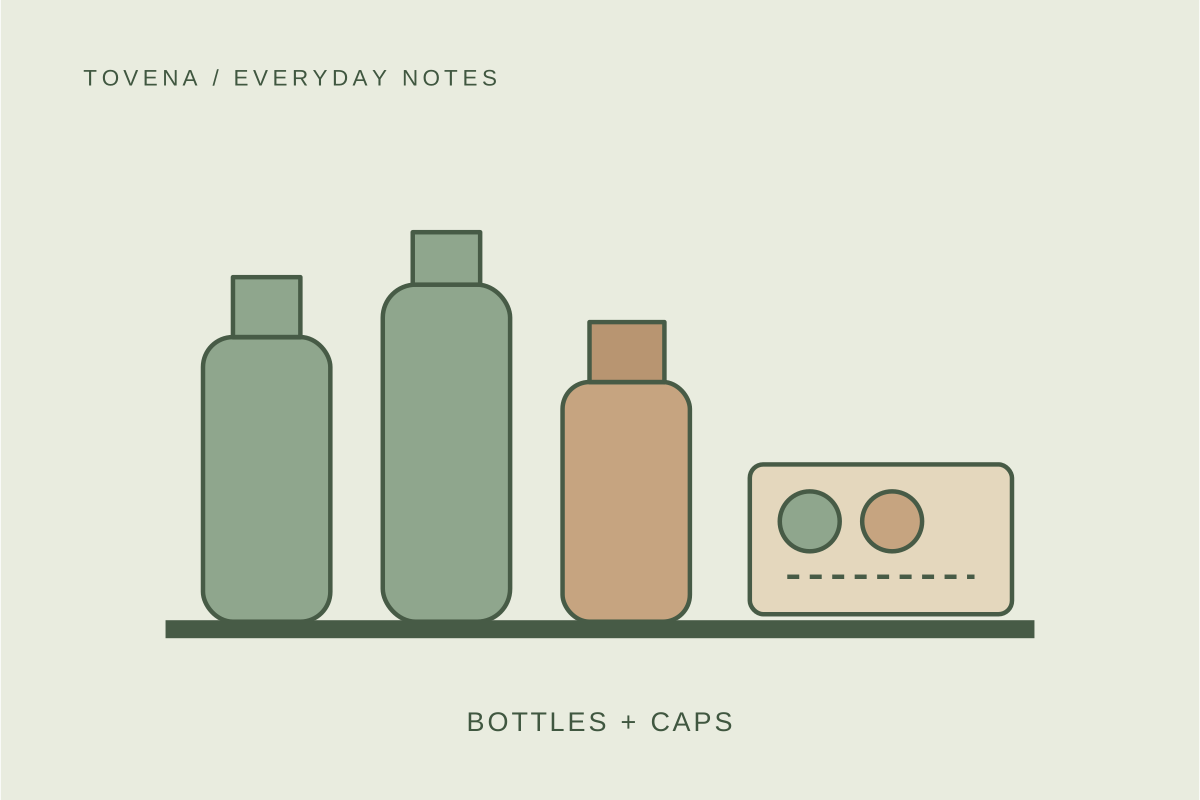
Bring the reusable bottles, travel mugs, lids, straws, and removable accessories to one counter. Match each set according to its manufacturer’s instructions. A lid that looks almost right is not necessarily compatible. Put unresolved pieces in a small temporary group while you check, rather than mixing them into the cabinet and making tomorrow morning’s search harder.
Set aside the combinations your household regularly chooses for school, work, or a walk. Include the large handled tumbler if it actually travels with you, even if it is awkward to store. A useful cabinet fits your real routine. It does not need to preserve every promotional bottle you have received or make unlike containers look identical.
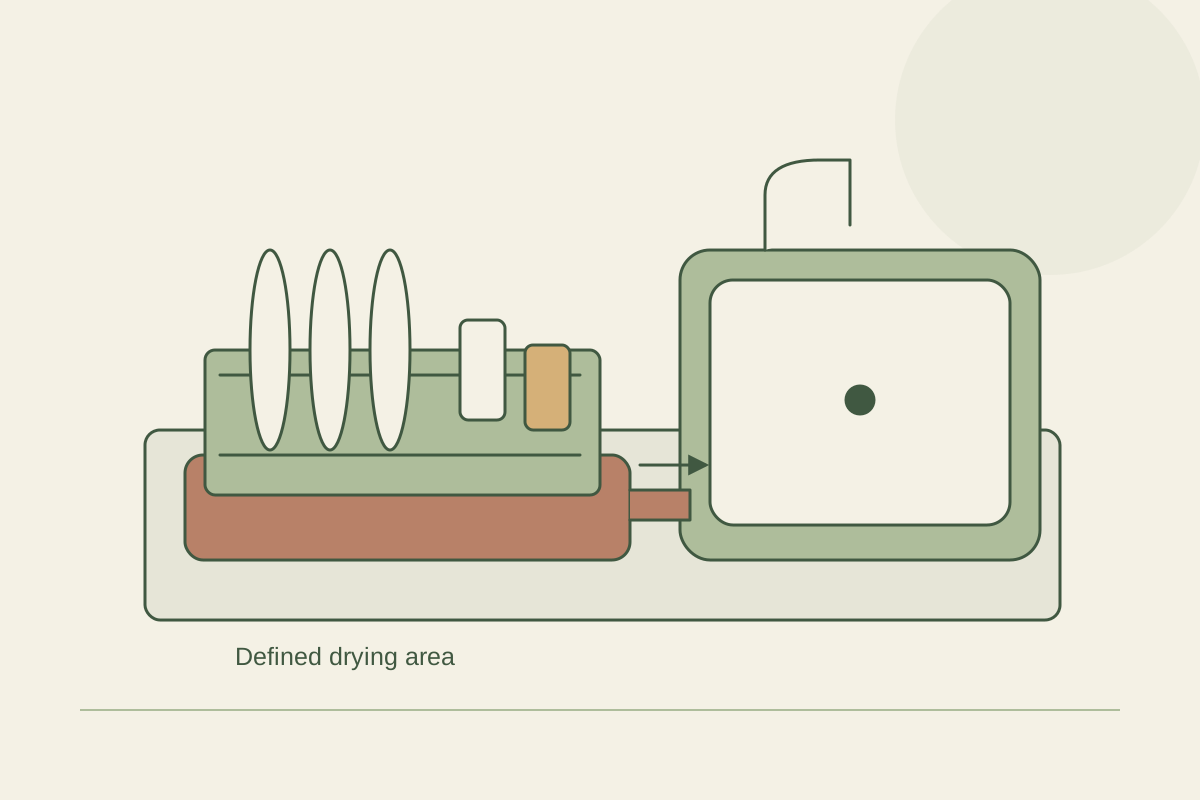
Plan a drying place and a storage place
Give washed bottles and their separated parts a drying position before thinking about the cabinet. Follow the care instructions for each bottle, including any removable seals. Store items fully dry rather than closing damp parts inside a container. This guide concerns arrangement; the bottle maker’s cleaning and replacement guidance remains the reference for the item you own.
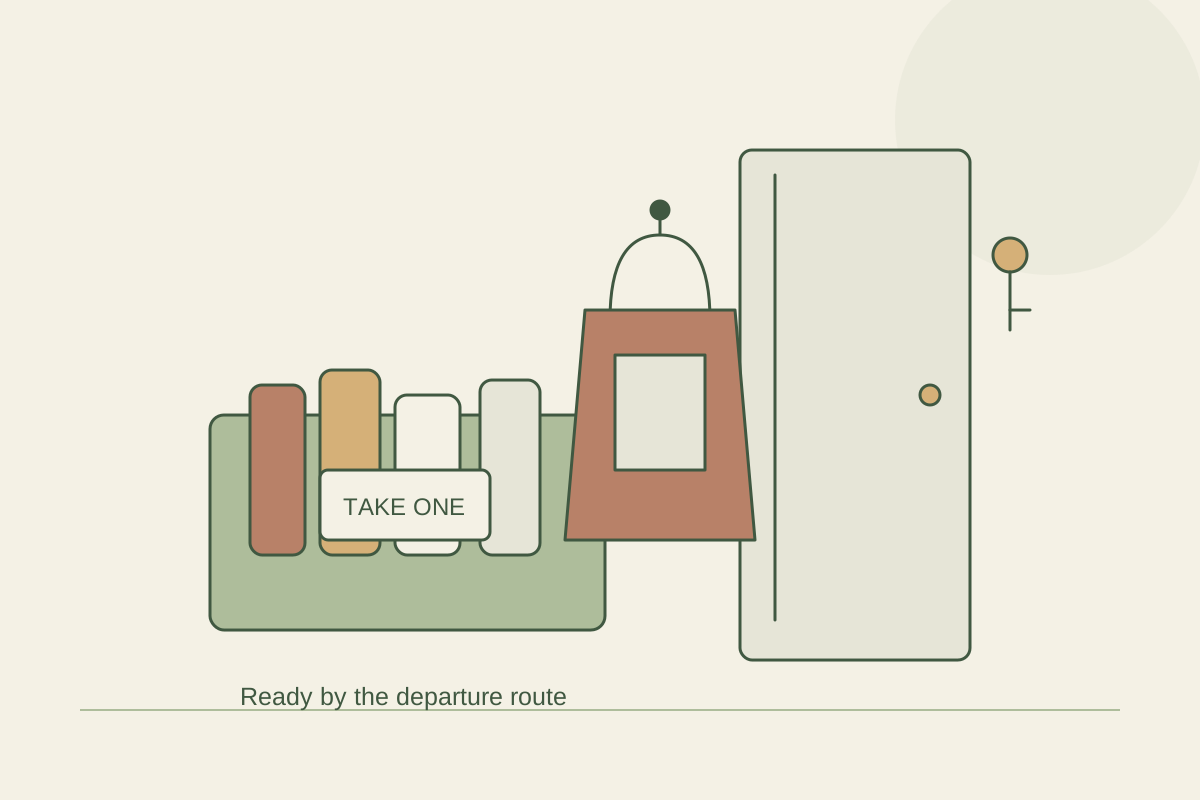
A crowded cabinet cannot do the work of a drying rack. If clean parts regularly stay by the sink, decide where they will finish drying and who returns them afterward. Keep the temporary drying area distinct from dirty dishes. Then arrange the cupboard for ready-to-use sets, so a person leaving the house knows which bottles are available.
Measure the awkward bottle first
Measure the tallest assembled bottle and the widest handle, not just the straight body of an average bottle. Check the cabinet opening as well as the interior height. A bottle may stand inside but be difficult to tilt past a low shelf edge. Try the actual movement with an empty bottle before assigning that shelf to daily use.
If considering a horizontal organizer, compare its stated usable dimensions with the complete bottle shape. A tapered body, large handle, or projecting cap can stop it sitting in a cradle. Do not assume a rack advertised for several bottles will fit that number of your bottles. Draw its footprint on paper and place the real items over it.
Choose upright rows or individual cradles
For a modest collection, a shallow upright row may be enough. Place tall bottles where they do not hide shorter ones, and leave a handhold beside each. A removable tray can define the group without adding much structure. Check that lifting the tray is comfortable; it should not become a heavy box that must move for every drink.
Individual cradles can separate bottles that otherwise tip or roll, but they take up space too. OXO offers an organizer with a separate accessory tray, illustrating one way to keep small parts nearby. Treat that as a layout option, not a promise that it suits your shelf. Test access to the lowest bottle before filling every tier.
Keep small parts understandable
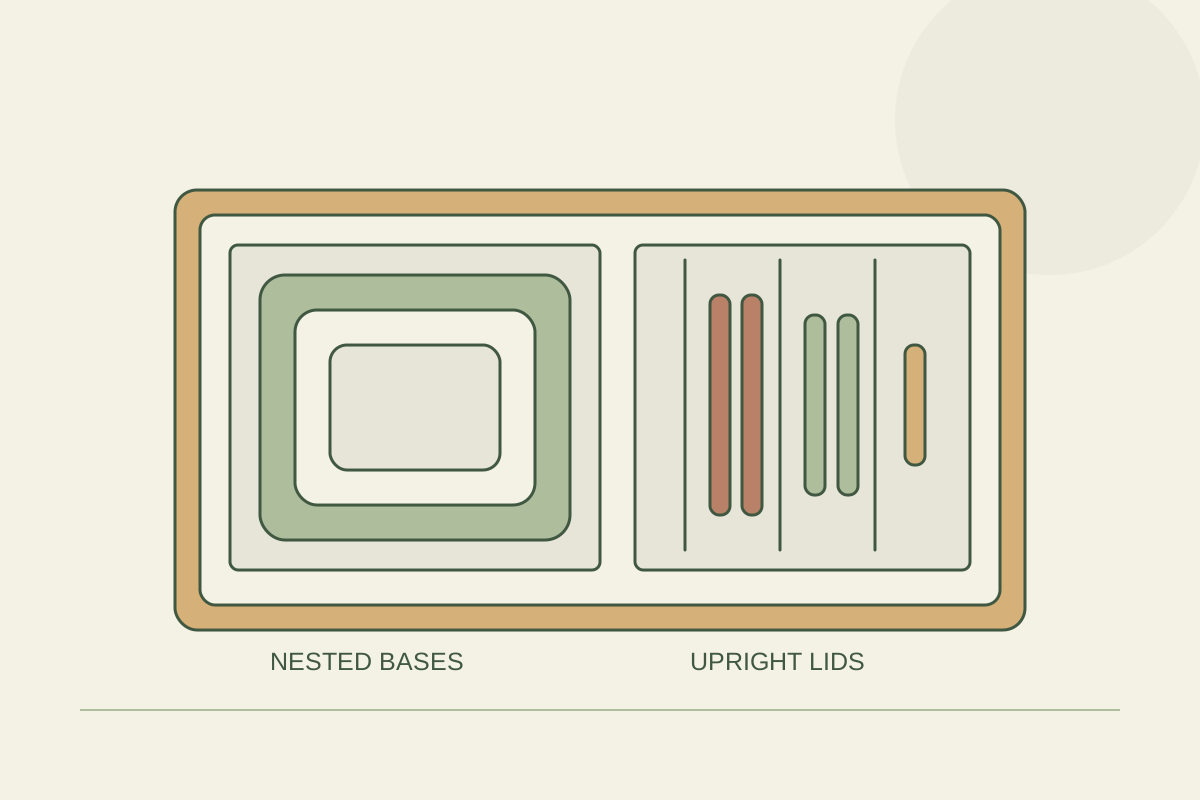
Store loose straws and lids in a shallow container where you can see them. Group by bottle family or owner if that is how people choose a bottle. A small removable label can distinguish similar lids without permanently marking them. Avoid a deep accessory bucket that recreates the problem on a smaller scale and hides seals at the bottom.
Where practical, keep a complete dry set together in the manner recommended by its maker. If you prefer storing lids separately, give them a position beside the relevant bottles. Check with the other people using the cabinet before settling on a system. A neat arrangement that only one person can interpret soon returns to a pile.
Test the return trip, not just the morning grab
Run through the ordinary sequence with the cabinet: remove a bottle, find its correct lid, and put both back. Then try returning several dry sets at once after washing. If you must rearrange the entire shelf, leave more room or remove an unnecessary organizer. Fast returns matter as much as fast departures when several people share the space.
After a week, review the bottles left unused and the lids that repeatedly end up elsewhere. Move occasional pieces to a clearly identified secondary spot if needed. Keep a modest spare only when it serves a real purpose. The aim is a cabinet where a clean bottle has an obvious place, including on the day every bottle is home.
Compare the options
| Arrangement | Works well when | Check first |
|---|---|---|
| Upright shallow row | Bottles stand securely | Hand access and tall caps |
| Horizontal cradles | Bottles fit individual supports | Handle shape and lower-tier access |
| Small accessory tray | Lids are stored separately | Visibility and bottle matching |
Your checklist
0 / 5 completed
Common questions
Should I put a lid on a damp bottle?
Let all components dry and follow the bottle manufacturer’s care instructions before storing.
How many bottles should I keep?
Keep the sets your household actually uses and any spare with a clear purpose; there is no universal number.
Can one organizer fit every tumbler?
No. Compare handles, lids, and body shapes with its stated usable dimensions.