Give the drawer one main job
Lay the drawer contents on a towel nearby. Group everyday preparation tools, serving pieces, and occasional baking equipment separately. Return unrelated objects to their proper places before drawing compartments. A good layout supports cooking; it does not need a dedicated compartment for every stray object that has accumulated over several years.
Consider the position of the drawer. Beside the dishwasher, flatware may be most convenient. Near the stove, tongs, a turner, and wooden spoons may matter more. Notice the journeys you repeat during cooking and unloading. Two similar kitchens can need different arrangements because the people using them work differently.
Measure inside the drawer, including closing height
Record usable width, front-to-back depth, and height. Include sloping sides, screw heads, rounded corners, and the cabinet frame above. A drawer front’s outside dimensions will not tell you what fits inside. If a liner is already in place, measure with it there so the tray sits at its actual working height.
Expandable does not mean universal. The referenced OXO divider specifies both an adjustment range and a four-inch height. This is an example of the information to check, not a recommendation for every drawer. Compare the particular product’s dimensions and mounting instructions against your measurements, especially where drawer height is limited.
Place the awkward utensils before the dividers
Start with the ladle, whisk, tongs, and broad turner. Try different directions and check whether their heads can overlap without catching. Long handles may fit front to back while wide heads need a broad shared area. Keep sharp tools in storage designed for their blades rather than loose among things you reach for without looking.
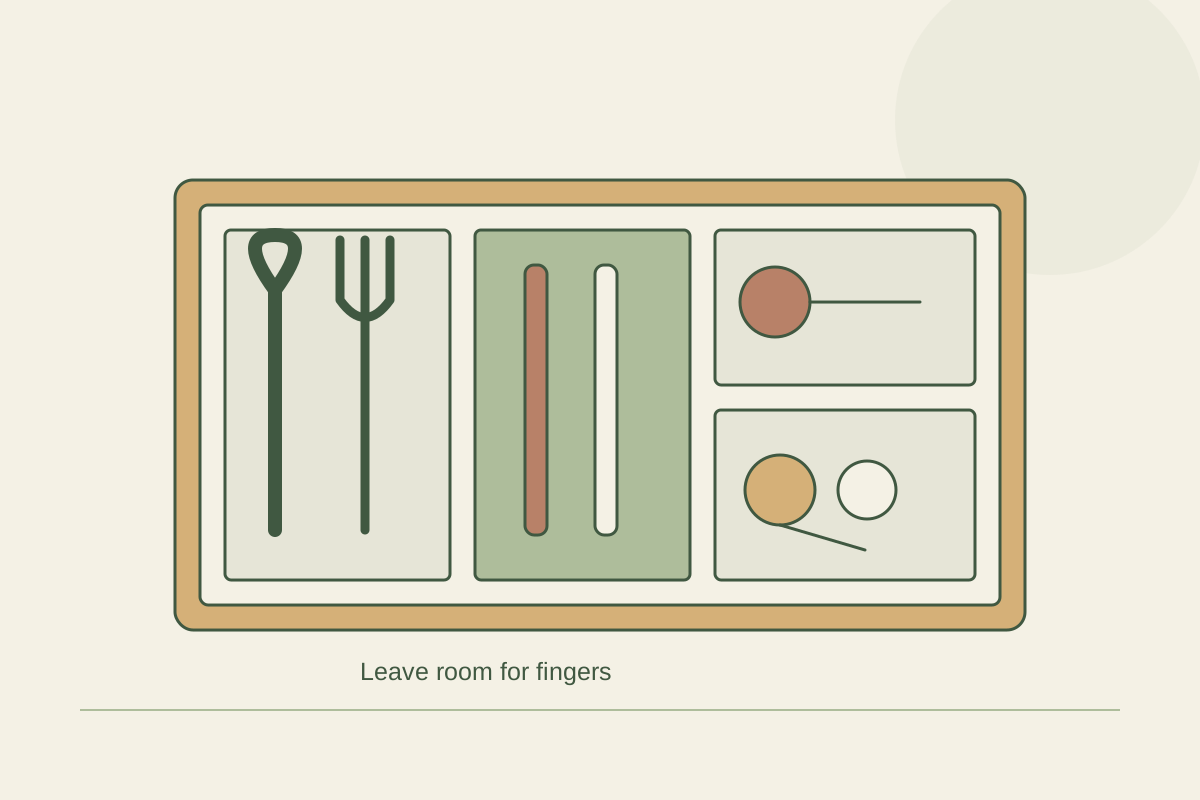
In a hypothetical 18-inch-wide drawer, two dividers each one-half inch thick leave 17 inches for three lanes in total. A 7-inch lane and two 5-inch lanes use that space on paper. Real fitting also includes divider feet, tool heads, and room for fingers. Equal compartments are not necessary when the contents have different shapes.
Select a divider style for the contents
A removable tray suits repeated flatware shapes and can be lifted out for cleaning. Straight adjustable dividers allow broad lanes for irregular tools. Small separate bins keep measuring spoons and clips from sliding under long handles. Leave narrow leftover gaps empty if they do not serve a useful purpose.
Read pressure-fit mounting instructions before tightening a divider. Stop if the drawer sides flex or the piece will not sit correctly. Adhesive dividers need a compatible surface and an appropriate removal method. For a rental, a removable arrangement can be easier to adapt without changing the cabinet or leaving permanent marks on its finish.
Test the loaded drawer during normal use
Close the loaded drawer slowly. A ladle bowl, tong handle, or stacked measuring cup can catch above the drawer even when the divider itself fits. Remove a tool from every section with one hand. If lifting a whisk disturbs half the drawer, change its position before considering the layout finished.
Use it through ordinary cooking and dishwasher unloading for a week before buying more organizers. A section that repeatedly overflows may contain rarely used tools that belong elsewhere. Photograph the arrangement once it works so other people can put things back. Leave a little room for a hurried return at the end of dinner, when careful arranging is least likely.
Compare the options
| Arrangement | Useful for | Check first |
|---|---|---|
| Removable tray | Flatware | Fixed footprint and lane length |
| Straight adjustable divider | Long irregular tools | Height, range, and mounting |
| Small individual bins | Short tools and clips | Sliding and wasted gaps |
Your checklist
0 / 5 completed
Common questions
Should compartments be equal?
No. Wide tools may need one broad lane while narrow flatware needs less. Arrange the real contents first. Equal compartments can leave one section crowded and another almost empty.
Why does the tray fit but the drawer not close?
The tray may fit the floor while a utensil or raised edge catches the cabinet frame. Remove the contents, check the available closing height separately, then reintroduce the tallest pieces one at a time.
Does every tool type need a divider?
Usually not. Many small compartments slow unloading and consume usable width. Begin with the groups you recognize while cooking. Separate only the things that repeatedly get tangled or lost.