Start with the supplies you would actually use
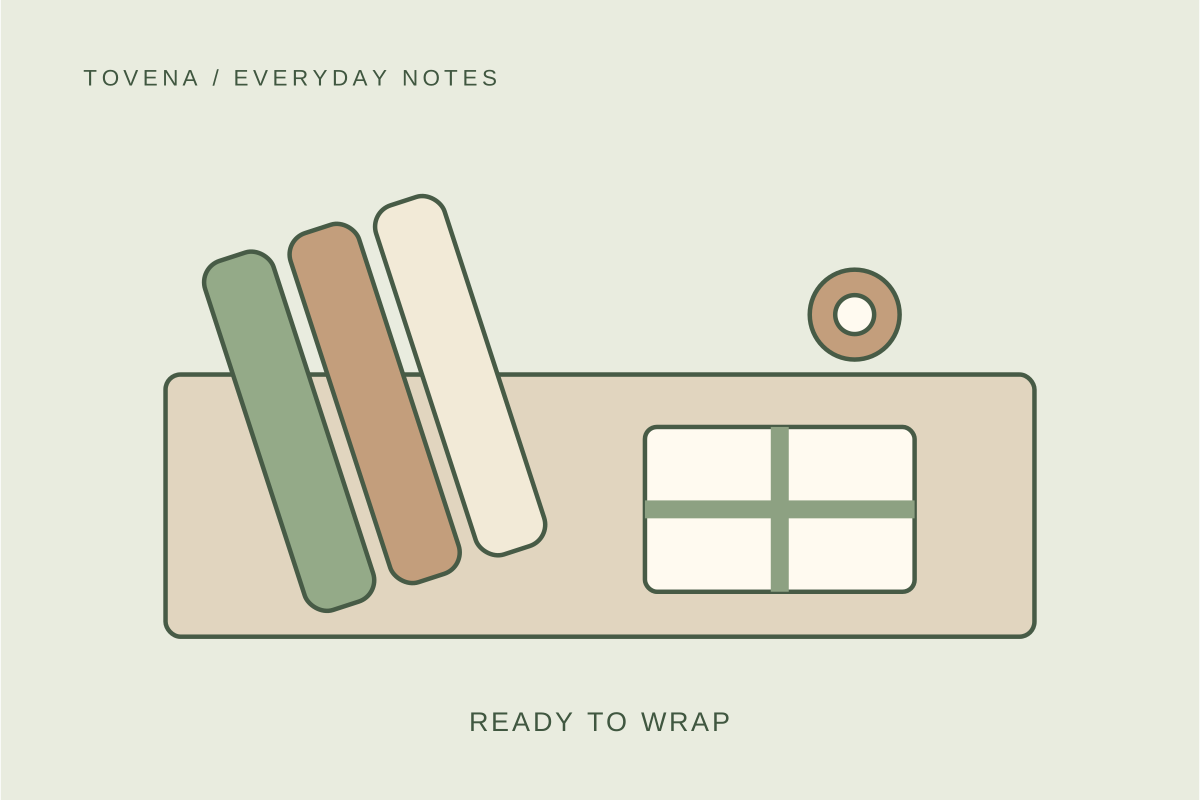
Gather wrapping paper, gift bags, tissue, ribbon, tags, tape, and scissors. Unfold bags enough to check their condition and remove old name tags when that is practical. Group materials you would be happy to give someone. Keeping a crushed bow or a tiny unusable scrap does not save a future purchase if it is never chosen again.
Make a small everyday group for birthdays and other occasions throughout the year. Keep holiday-specific materials together separately if they would otherwise hide useful plain paper. You do not need two complete tool kits. The distinction is between accessible supplies you use often and seasonal materials that can occupy a less convenient place until their next job.
Measure the longest roll before buying a case
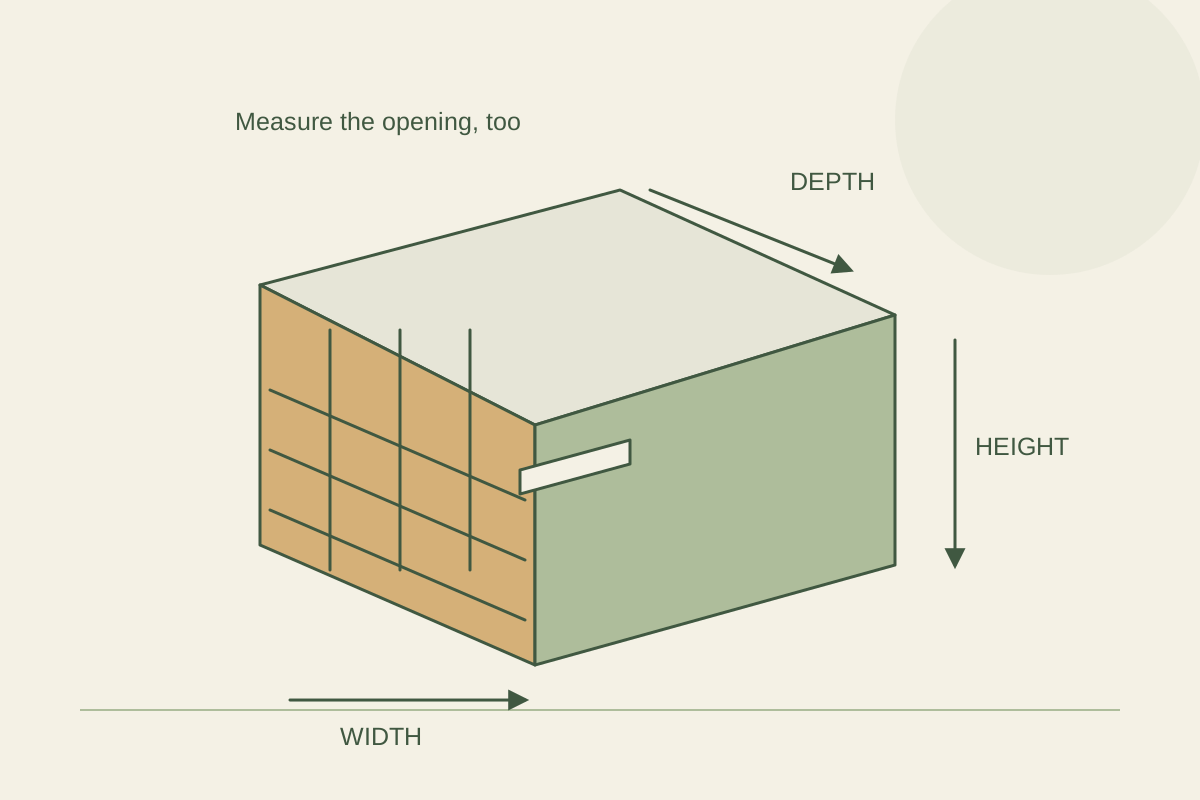
Rolls sold in different widths do not necessarily fit the same storage case. Measure the actual longest tube end to end, then compare it with the case’s usable internal length. Allow for dividers, seams, and the opening. A stated external dimension can look generous while leaving less room than expected inside, especially when a case has a separate compartment.
Also check the route into the storage position. Under a bed, the case must pass the bed frame and pull out far enough to open. On a closet shelf, a long case must come through the door without scraping surrounding items. IKEA’s dedicated wrapping-paper case shows the low enclosed format; the fit still depends on your rolls and available space.
Protect paper without crushing the accessories
Keep rolls together so they do not lean into a closet door or unroll under a pile of bags. A suitable enclosed case can keep them separate from surrounding belongings. A freestanding upright container is another possibility where it sits securely and does not obstruct the room. Avoid forcing long paper into a short space and permanently creasing the edge.
Store flat gift bags and tissue in a broad pocket or folder, with enough support to stop them sliding into a crumpled heap. Keep bows in a small container where heavier materials cannot flatten them. Group ribbon by usable rolls rather than tossing every length into one deep bag. The goal is to see what is available before buying replacements.
Build a small kit for the table
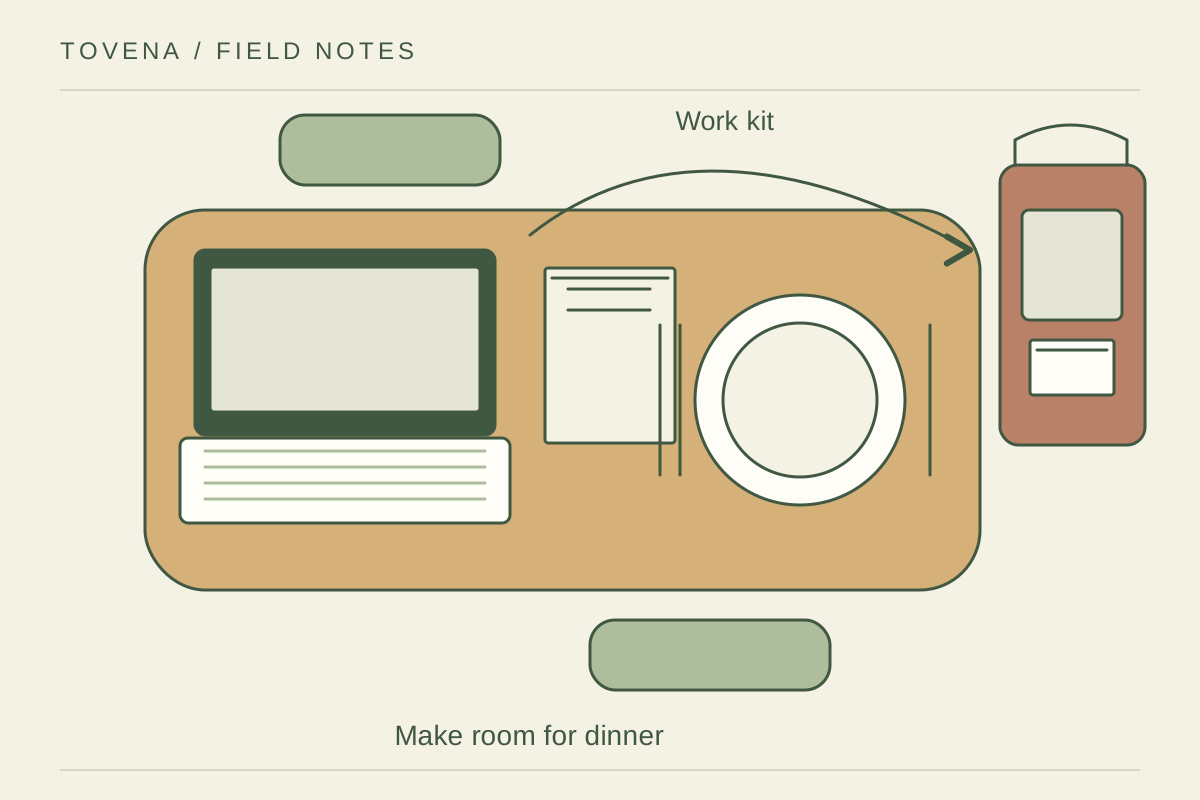
Use a tray, pouch, or shallow box for tape, gift tags, a pen, and other tools you normally need. Store scissors and sharp tools securely, especially in a home with children. Choose a kit you can carry in one trip. A large craft organizer is unnecessary if the actual task usually involves wrapping one birthday present after dinner.
The Clean and Scentsible wrapping-station example separates supplies into labeled storage, an idea you can scale down without copying a dedicated craft room. For a small home, the kit is the station’s permanent part. The table is temporary. Keep the clear surface available for the job and return the tools together rather than scattering them across several drawers afterward.
Test the wrapping surface with a real package
Place an ordinary empty shipping box on the intended table and unroll the paper around it. Check whether you can turn the package without knocking a lamp or sending paper into food preparation space. Protect the furniture as its care instructions require. Cutting directly on a finished dining table can leave damage that a neat supply system will not solve.
If the package is too large, choose another suitable surface rather than balancing it over an edge. Keep drinks and food away from the paper while working. A temporary station works best when it has a clear beginning and end: bring out the kit, clear the necessary area, wrap the present, then restore the table to its everyday use.
Reset the supplies while the tools are still out
Return usable offcuts only if they are large enough for a purpose you can name. Put them flat in a limited folder rather than wrapping them around every roll. Note tape or tags that need replacing before putting the kit away. A short supply note prevents discovering an empty dispenser when you next need to leave for a party.
After the busy gift-giving season, put the entire collection back in its assigned storage position. If the lid will not close easily, remove damaged materials or reconsider the container size. Do not move overflow into several forgotten bags. One identifiable location for rolls and one portable tool kit are easier to remember than a wrapping collection spread through the home.
Compare the options
| Arrangement | Works well when | Check first |
|---|---|---|
| Low enclosed case | Long rolls fit beneath furniture | Usable length and pull-out clearance |
| Stable upright container | Rolls need frequent access | Tipping risk and door clearance |
| Flat folder plus small tool kit | Bags and sheets make up most supplies | Paper support and secure tool storage |
Your checklist
0 / 5 completed
Common questions
Will any wrapping-paper case fit my rolls?
No. Compare the longest roll with usable internal length, including the effect of dividers.
Do I need a dedicated wrapping table?
A clear temporary surface and portable tool kit are often enough for occasional wrapping.
Should I keep every offcut?
Keep only pieces with a practical use that fit a limited, easy-to-find folder.
Useful references
- IKEA: SKUBB storage case for wrapping paper ↗
- Clean and Scentsible: Storage Ideas and a Gift Wrapping Station ↗