Start with one bed, not the entire cupboard
Choose the bed you change most often and collect its spare fitted sheet, flat sheet if you use one, and matching pillowcases. Work on a clean, dry surface. Leave the rest of the cupboard alone for now. The useful result is one complete set that another person can find without asking which white sheet belongs to which mattress.
Read the size and care labels before folding. Queen and full sheets can look very similar in a pile, and a deep fitted pocket matters as much as the width when matching a mattress. If the label is unreadable, compare the sheet with the bed it actually fits before giving the bundle a permanent label.
Make the elastic manageable
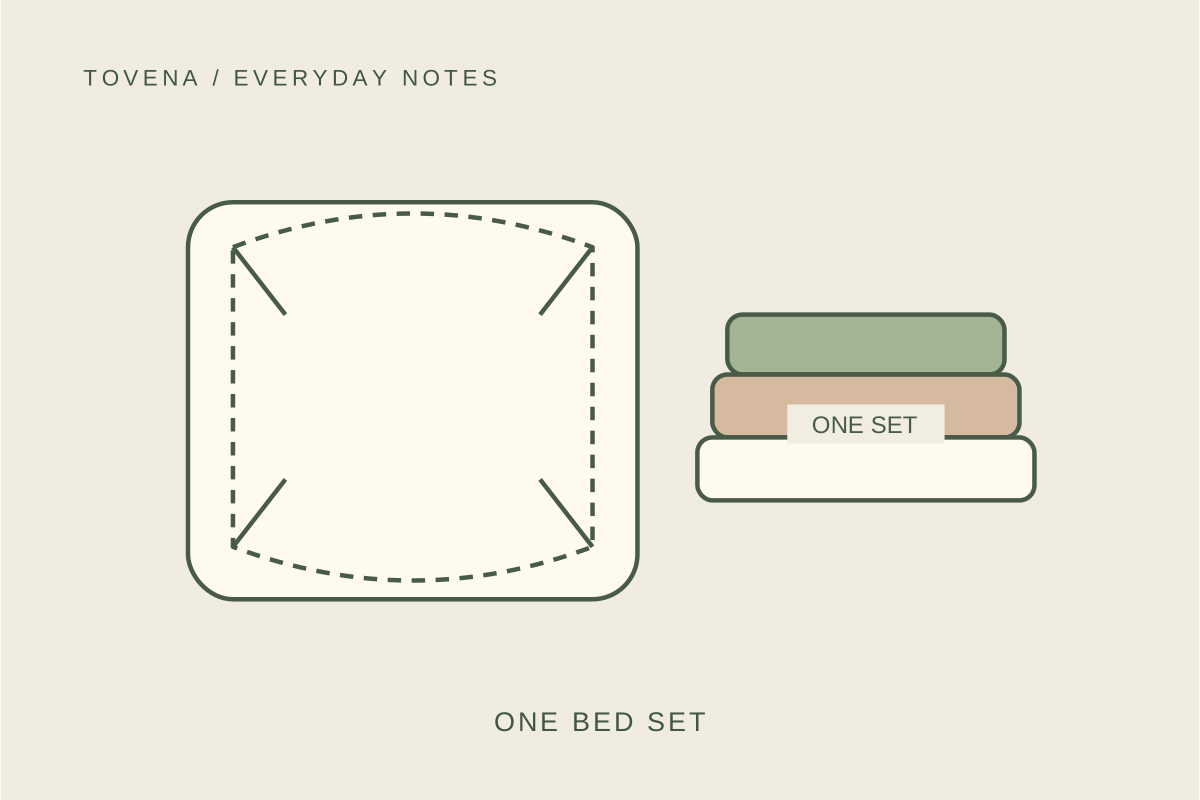
Find the stitched corner pockets rather than pulling on the elastic edge. Bring two neighboring corners together so one pocket sits inside the other, then do the same with the remaining pair. Bring those paired pockets together. Set the sheet down and ease the loose fabric flat; a recognizable rectangle is enough. There is no need to stretch the elastic until every wrinkle disappears.
Fold the curved, elasticated edges inward and fold the resulting rectangle to suit the shelf. If a deep pocket makes one end thicker, alternate its position when stacking sets. IKEA provides a fitted-sheet folding demonstration in its bedding organization guide; use the moving demonstration if the corner arrangement is difficult to picture from written directions.
Build the bundle around the pieces you use
Fold the flat sheet to roughly the same footprint and place the fitted sheet and additional pillowcase on it. Wrap the outer sheet around the stack, or slide the complete dry set into one matching pillowcase. Keep the opening loose enough that removing the bundle does not pull several neighboring sets onto the floor.
A household that sleeps without a top sheet does not need to create an imaginary complete set. Bundle the pieces that actually go on that bed. Keep a separate occasional spare pillowcase nearby if it gets changed more frequently. The goal is to reduce searching during a bed change, rather than force every household into the same bedding arrangement.
Label for the person changing the bed
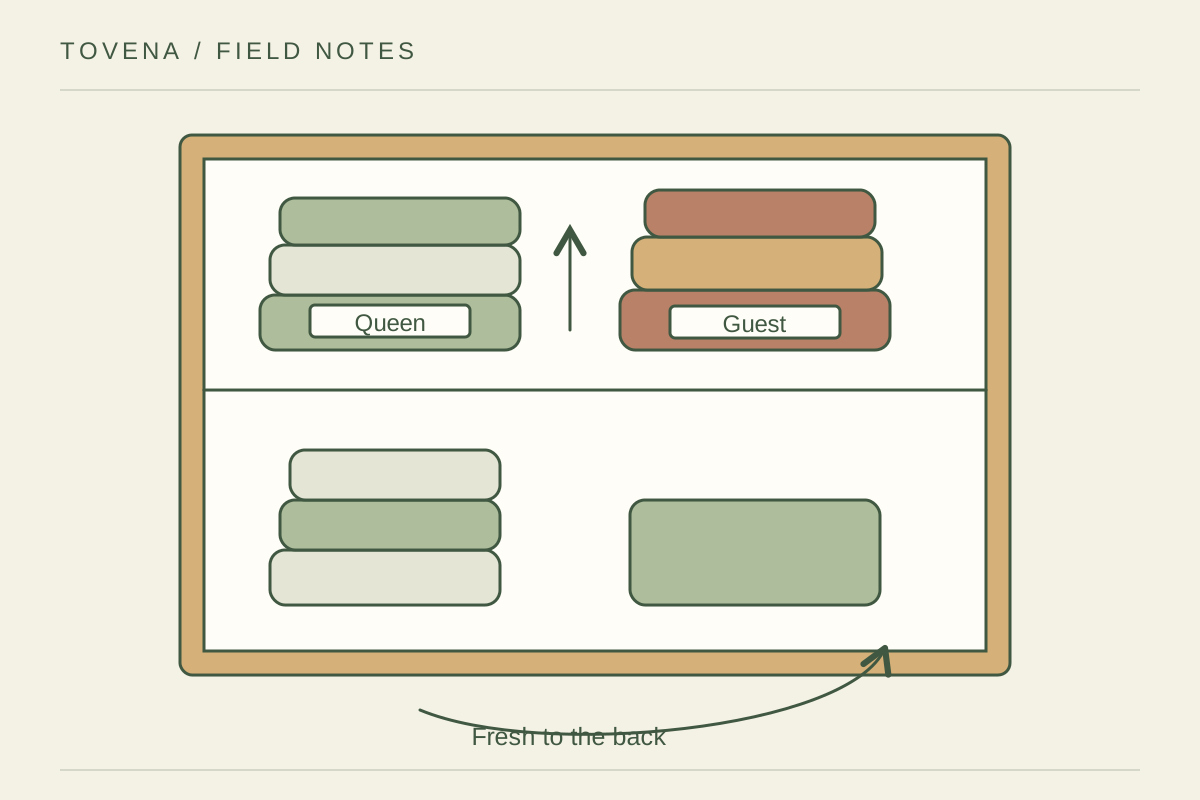
Use a shelf label or removable tie tag reading something like guest queen, deep pocket. Include only the information someone needs to select the correct bundle. A decorative collection name is less useful than a room and mattress size. Keep tags away from fabric in ways that could snag it, and remove temporary labels before laundering.
When several rooms use the same size, decide whether the sheets are interchangeable. If they are, a shared queen section may be simpler than separate room assignments. If they are not, explain the difference on the label. For example, the primary bedroom may need deeper pockets while the guest bed uses a standard-depth mattress.
Test the shelf with your hands
Put the bundle where you can take it out without lifting a heavy stack above it. Open the cupboard as you normally would, pick up the set, and put it back. If you need both elbows and several rearrangements, change the fold or reduce the stack. A photograph of a tidy cupboard cannot tell you whether the daily movement works.
Try placing bundles side by side in a shallow existing basket if a high pile keeps collapsing. Do not buy a container before trying the completed set on the shelf. The relevant measurements are its folded width, depth, and the clearance above it; an organizer advertised for bedding can still be awkward in your particular cupboard.
Finish the next laundry cycle
After laundering according to the bedding labels, make sure every piece is dry before rebuilding the bundle. A missing pillowcase should stay visible as an incomplete set rather than disappear into a package that looks ready. An empty labeled shelf position can also remind you that the spare set is still in the wash.
On the next bed change, notice the first point of hesitation. Perhaps the label needs to face outward, the folded rectangle is too wide, or the household needs an extra pillowcase outside the bundle. Adjust that detail and stop. A useful bedding system makes the next change easier without turning folding into another lengthy household project.
Compare the options
| Option | Useful when | Watch for |
|---|---|---|
| Wrapped in a flat sheet | You use a top sheet | Loose pieces can escape if the outer fold opens |
| Inside a matching pillowcase | You want one easy bundle | Do not overstuff the case |
| Side by side on a shelf | Sets differ in thickness | Make each label visible |
Your checklist
0 / 5 completed
Common questions
Does the fitted sheet need to be perfectly flat?
No. Aim for a stable bundle that fits the shelf and can be identified.
What if we do not use a top sheet?
Bundle the fitted sheet and the pillowcases you actually use.
Should I organize by room or size?
Use size for interchangeable sets and room labels when fit or use differs.